DNA Sample Collection
Upon placing your order with us, we will ship your DNA testing kit to the supplied address. Sample collection is simple and straightforward. All of our home DNA sample kits are packaged discreetly, with no company or content labels, meaning everything is kept anonymous!
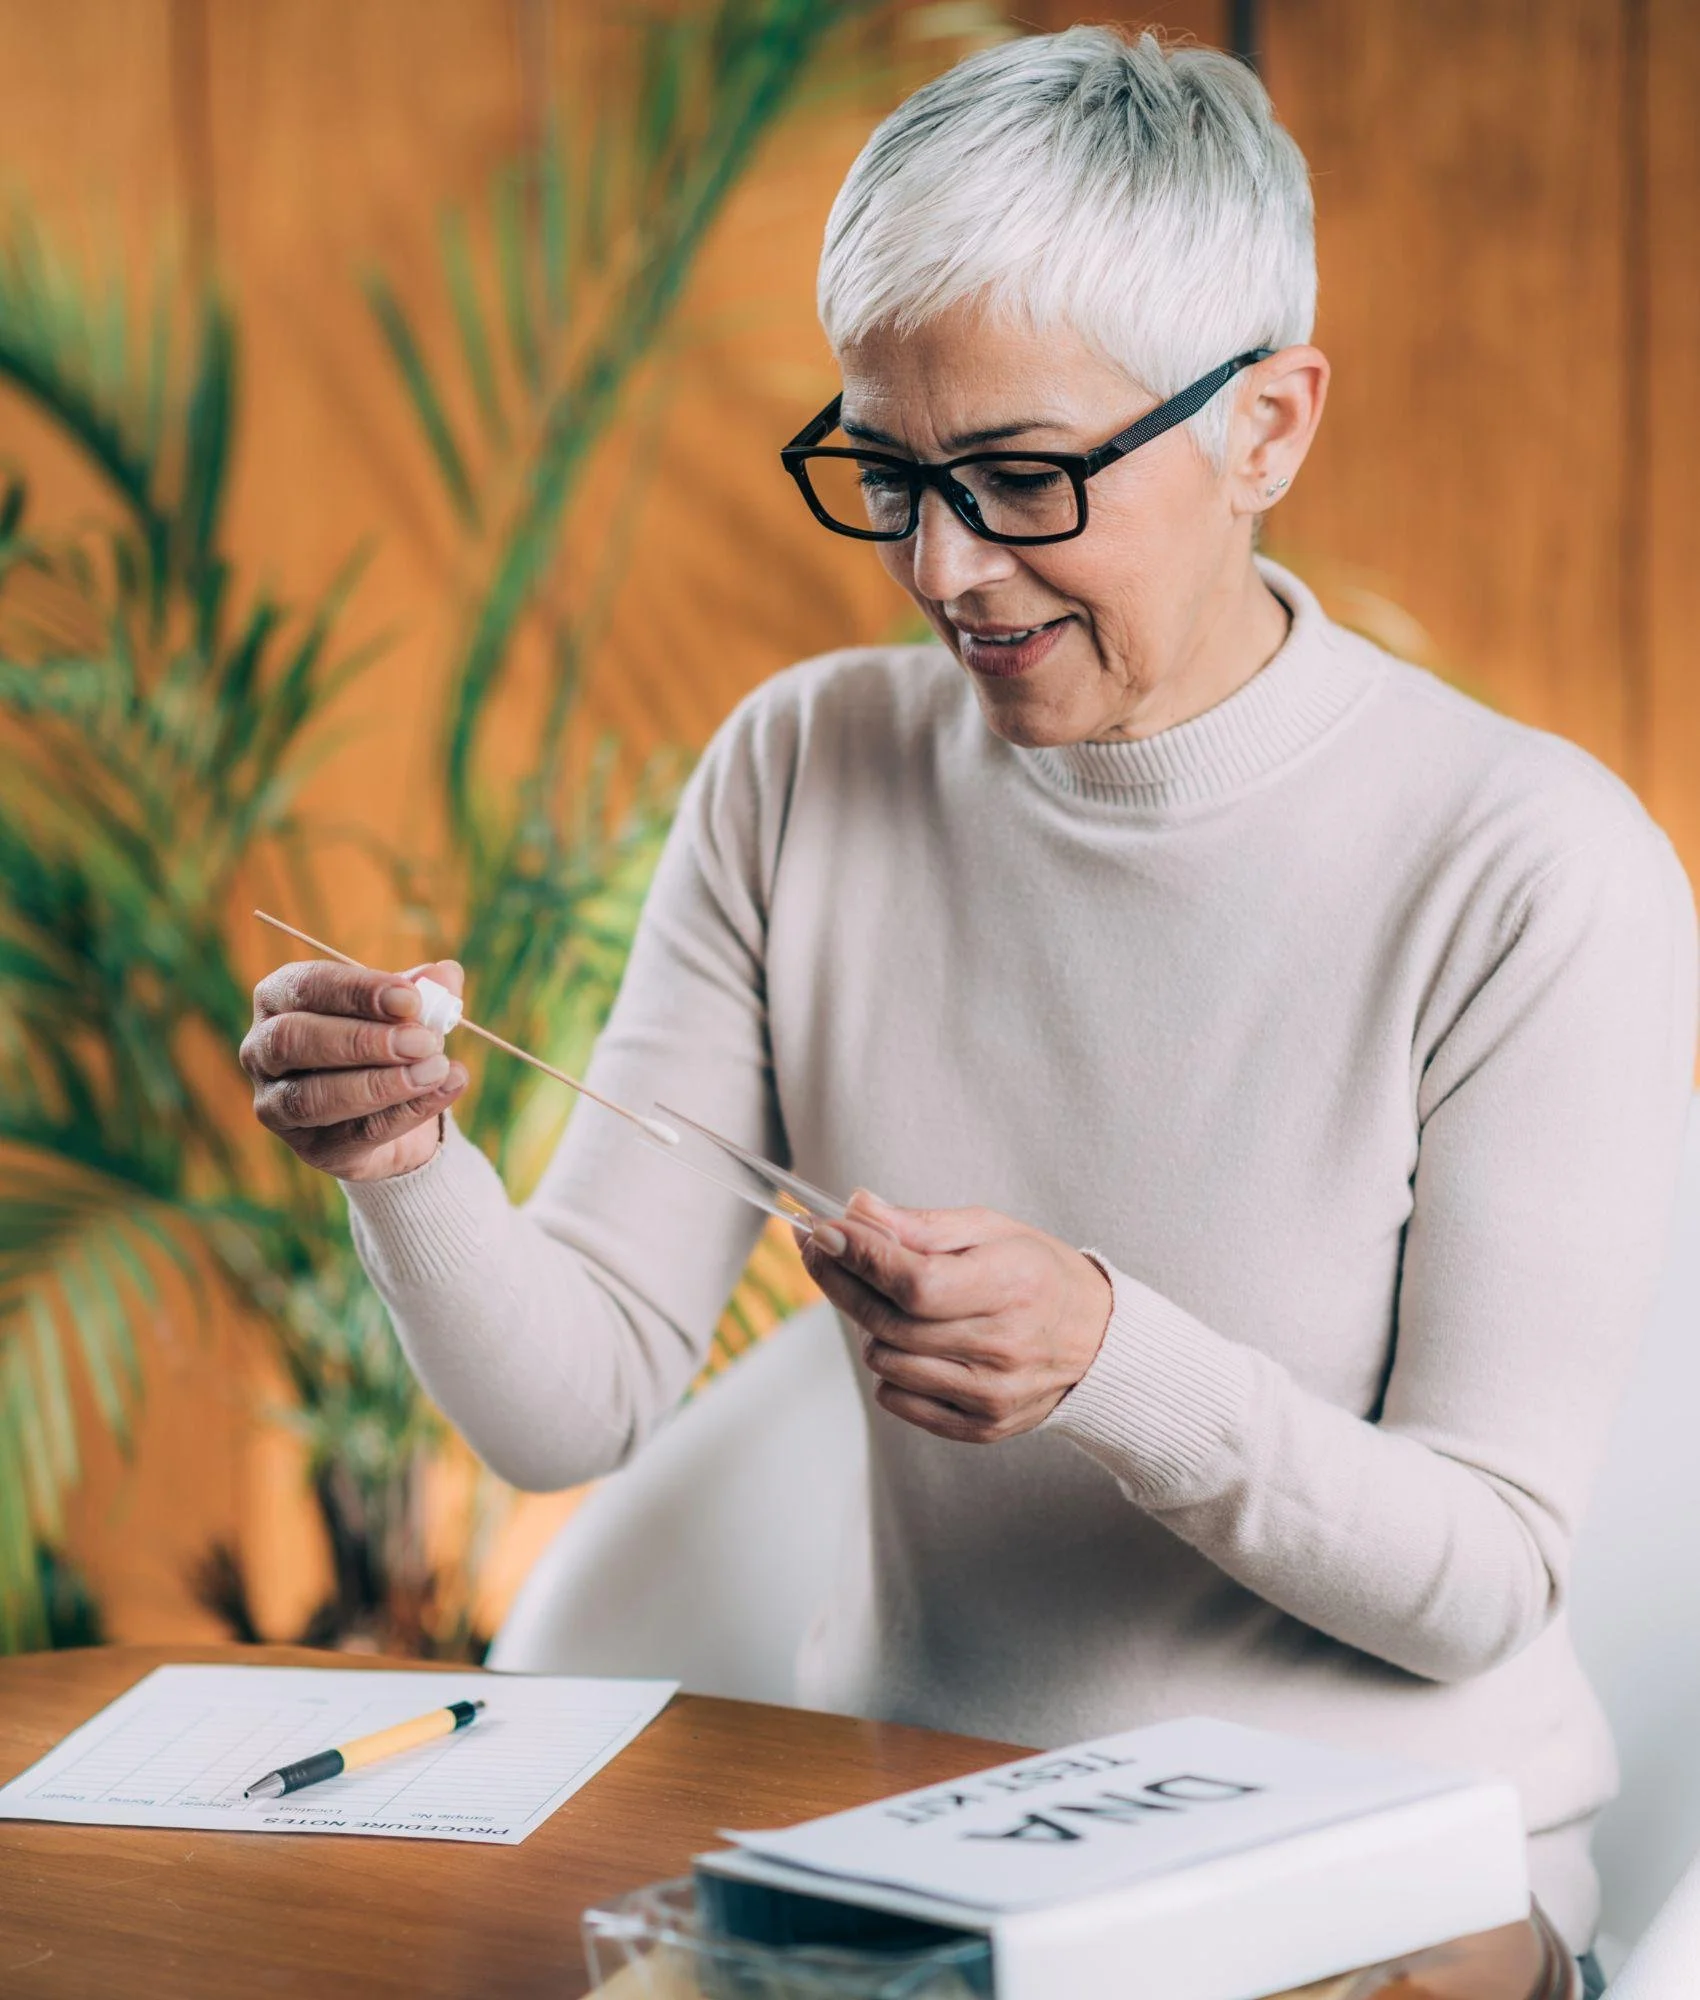
Simple, Painless, and Discreet At-Home DNA Collection
Collecting your DNA sample at home is quick, easy, and completely non-invasive. Once you place your order, your DNA testing kit will be shipped to the address you provide in plain, discreet packaging, with no company name or content labels.
There are no needles, no blood, and no appointments required. Our DNA tests use a simple saliva sample collected using oral cheek swabs, making the process comfortable for adults and children alike.
What to Expect When Your Kit Arrives
Your DNA sample collection kit includes:
Sterile oral cheek swabs for each participant
Individual sample envelopes
Consent form(s)
A pre-addressed return envelope
Step-by-step instructions
Everything you need to collect and return your samples is included.
Before You Collect Your DNA Sample
To ensure accurate results, please follow these preparation steps carefully:
Do not eat, drink, smoke, chew gum, or brush teeth for at least 30 minutes before sample collection
Wash and dry your hands thoroughly
Read all instructions completely before beginning
Each person participating in the test should review these instructions
Failure to follow preparation guidelines may contaminate the sample and delay testing.
How to Collect Your DNA Sample (Step-by-Step)
Step 1: Remove the Oral Swabs
Open the plain envelopes in your DNA test kit and remove the oral swabs. Avoid touching the cotton tip of the swabs.

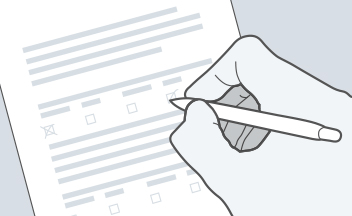
Step 2: Complete the Paperwork
Fill out the required information on the sample envelopes and complete the consent form included in the kit. Incomplete or incorrectly filled forms may delay testing.
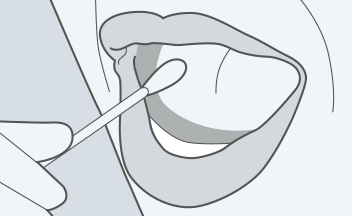
Step 3: Collect the Saliva Sample
With clean hands, firmly rub the cotton tip of each swab against the inside of the cheek for about 60 seconds. The motion should be firm but gentle and should not cause discomfort.
Use all swabs provided for each participant.
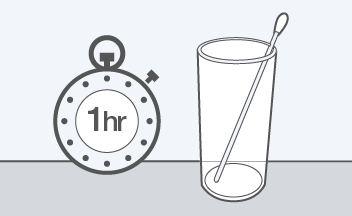
Step 4: Allow the Swabs to Dry
Place the swabs upright with the cotton tip facing upward and allow them to air dry for at least one hour.
Tip: You may place each swab in a clean glass to help it dry. Use a separate glass for each person to prevent contact between samples.
Do not touch the swabs to check if they are dry.
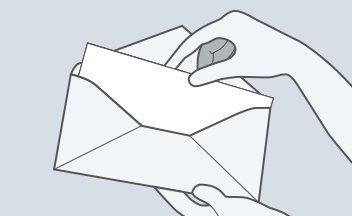
Step 5: Package and Return the Samples
Once the swabs are completely dry:
Place each swab back into its corresponding envelope
Ensure envelopes are properly labeled
Place all sample envelopes and the completed consent form into the pre-addressed return envelope
Mail the package using USPS or another courier (tracking is recommended)

Don’t Want to Wait for a Kit?
If you need to collect samples immediately and do not wish to wait for a kit to arrive, you may create your own DNA sample collection kit using readily available materials.
We provide detailed instructions to help ensure proper collection and submission.

Important Tips and Precautions
Do not allow swabs from different participants to come into contact
Do not touch the cotton portion of the swabs
Always use both swabs provided per person
Keep samples dry and store them in paper envelopes only
Incomplete paperwork may result in testing delays
Following these guidelines helps ensure accurate and timely results.
Frequently Asked Questions About DNA Sample Collection
Is cheek swab DNA collection painful?
Can children provide DNA samples?
How long can samples be stored before mailing?
What happens if a sample is contaminated?
For additional questions or concerns, our DNA experts are here to help.

Client Reviews